“Order is the balanced adjustment of the details of the work separately, and, as to the whole, the arrangement of the proportion with the view to the symmetrical result. This is made of the Dimension, which in Greek, is called posotes. Now Dimensions is the taking of modules from the parts of the work: the suitable effect of the whole work arising from several subdivisions of the parts.” - Vitruvius, 1st century BC.
Dimensions are at the heart of Architecture, running through from initial conception to final detailed completion. They are an essential system that runs through design thinking. Architects are obsessed with them, and there is no end in the debate on how they are best used. Revit, a tool for parametric modeling, offers interesting ways for Architects to resolve dimensions in design. But the tool is only as good as the thinking behind it.
Nominal vs. Actual
Shorthand for measurements abound in and around buildings: 2x4 stud, 8 inch brick, 8 foot ceiling, 10’ x 12’ room, 20 foot span. , These are not exacting, but offer a nominal size that we can easily get our minds around. The cross section of a wood 2x4 rough cut board is actually 1 ½” x 3 ½” , plus or minus ⅛” (at least in my part of the world). The 2” and 4” are nominal dimensions. Architects obsess over dimensions in different ways. In early design, arguably, nominal dimensions provide simplicity for the big picture, but certainly introduce problems. Some special cases for rounding can be made, for example an indication of a room size to a client early in design, could be to the inch, or even the foot.
 I have reluctantly defined these special, grossly rounded dimension styles at times. In a recent project, I found found them used in place of exacting dimensions. After that, I thought of banning rounding, but instead defined the style to shout out in a loud color limit their use and eventually flush them out. Nominal dimensions in a design fool us into sweeping issues under the carpet that will be faced again in the design of a building. Critical dimensions must be precise: An elevator may not fit in the shaft required. A corridor may too narrow to serve as an emergency egress. Trades may not be able to coordinate any number of construction tasks, given vague dimensions. But these vague, nominal dimensions may be useful to unclutter thinking in earlier stages of design….or are they?
Actual dimensions, accepting small fractions of an inch, can get complicated fast, but are the only option in the end for real construction tolerances. Competing office cultures frequently war over this false dilemma - nominal or actual. In Revit, dimensions serve to report for the size of the object to the to the foot, the inch, the 1/8th inch and even nearest 1/256th of an inch (a seldom, if ever, needed level of accuracy. These “styles” of dimensions can be set to different parameters, but can report dimensions to unrealistic accuracy, just as reporting nominally, leads to problems. Accuracy should not be confused with precision, which both early schematic and later detail design thinking alike can benefit from.
Living Dimensions on a Module
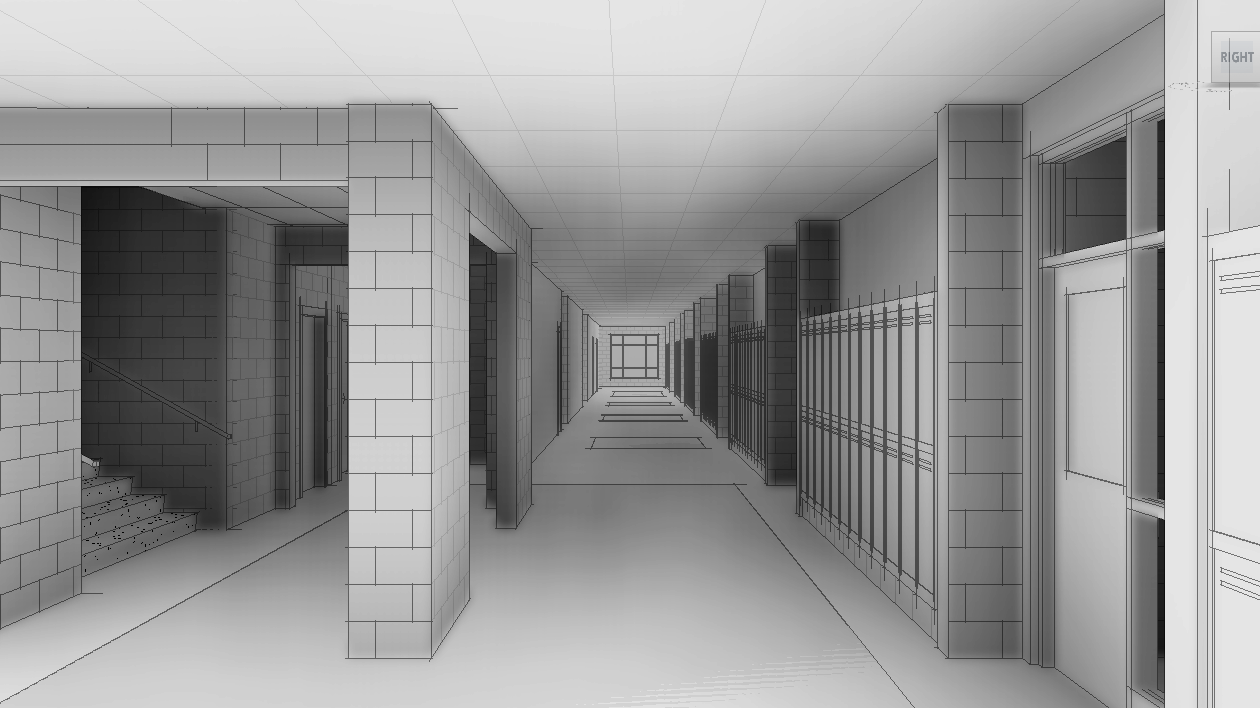
Brick and concrete masonry offer a system of measurement offers one example of the use of simple, actual dimensions. Material sizes are incremented to a module. In the case of brick, a standard unit is 7 ⅝” long, 2 ⅔” high, and 3 ⅝” deep. Add ⅜” mortar joints and stack three high, and the face module becomes 8” x 8”. The corresponding concrete masonry module is 8” x 16”. An elegant progression of dimensions becomes available as they are assembled: 8”, 1’-4”, 2’-0”, 4’-0”, 6’-8”, 8’-0” and so on. These are not nominal dimensions, they are precise, with no leftover fractions to build up and keep track of. Precision, to an 8” module is useful in both concept and detail, in resolving plan and elevation. Many of the overlapping systems in a building design lend themselves to modules, Regular structural grid modules help set up useful basis for efficient subdivision. Finish materials frequently come in set lengths that are useful to repeat. Dimensional modules at various levels provide a framework at for consistent size, shape, rhythm and scale for the building as a whole. A complex system becomes simple and understandable.

 The flexibility of the tools in Revit for producing a design open up new ways for coordinating dimensions at all phases of the process. In layout, a repeating module of spacing can be chosen to form a series of columns, openings, or room partitions as a rule, and exceptions in spacing made, but kept limited to, say, 1’ increments. (or at smallest, 1” increments). Dimension strings in Revit are “live.” (Here's a good post). Move a wall, the dimension reading changes, touch a wall, and the dimensions “go live” and can be overwritten with the desired number to move the wall. Precise placement of elements comes easily, and locations will lock into and flex along a module instantly. In AutoCAD language, you would force movement increments by a “snap” setting, but these dimensions are on steroids.
Dimensional Reality of the Model
Rules of thumb abounded in the days of hand drafting. After the sketcher sketched, the presenter presented... loosely, in terms of accuracy. Then, work passed on to the drafter for tedious scaled delineation, with strings of dimensions added at the end of the process. These were exhaustively solved mathematically, if not geometrically. Towards the end, the drafter often had to depart from scale to some degree to avoid too many painful erasures, applying the dreaded NTS (not to scale) notation next to the offending dimension. CAD revolutionized graphically scaled accuracy in architectural drafting. Moving, stretching, erasing, redrawing of geometry was seamless, if not endless. But CAD brought with it the Boogeyman of Myopic Accuracy now possible, way beyond any tolerance possible in the field. Endless strings of any complexity of dimension could be resolved in detail to any fraction of inch. A quick and spontaneous initial schematic CAD drawing was frequently too sloppy, using rough placement to keep thoughts uncluttered, just as in the days of the handmade presentation. Detailed drafters simply threw that work out and started over for working drawings.
 A new era has dawned. The process of parametric modeling brings us back to reality, to the.concept of resolving to simple, yet precise dimensions, from beginning to end. Using this logic of modular “snap” points can speed earlier design thinking, and still remain valid through later refinement. The whole forest comes into view, reinforced, not obscured by the sheer number of trees that make it up. “Live” parametric dimensions can give an ongoing reading to the design team giving shape to the building, working elements to a coherent, guiding dimensional pattern. As more detail oriented thinking evolves, more refined, fine grain dimensions help describe the work, building on the original framework.

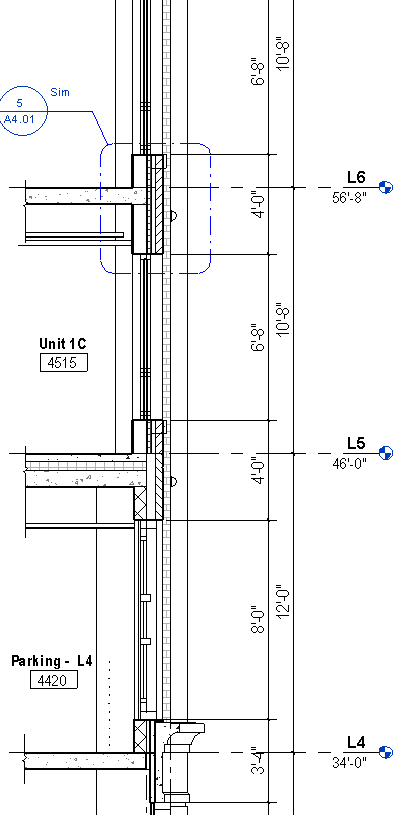
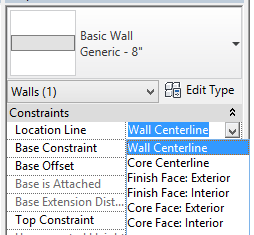 placed justification plane, or “location line”. The easiest way to establish and use this is in a “flat” view - a plan, elevation, or section. The location line refers to some aspect of the exterior face, interior face, or centerline. In a typical case, the exterior wall location line is set to finished exterior face, say the face of a brick masonry faced wall; The justification for a gyp board stud wall partition is frequently set to face of the supporting stud. the “core” of the wall. In early planning, justifying to the centerline may prove easiest to control, allowing rapid experimentation and adjustment as spaces and rooms divisions are made in resolving program and room configuration.